Last updated November 18, 2026








Free written scope consultation - allowances, timeline, and change-order rules on paper before a single trade is scheduled
Home Remodeling Troubleshooting: Common Problems and How to Fix Them
The single most common remodeling problem isn’t shoddy work. It’s a homeowner who didn’t know what to look for at the right moment and found out too late to course-correct without additional cost. We’ve walked onto plenty of Las Vegas job sites where a small deviation in week two had quietly become a five-figure dispute by week nine. The pattern is almost always the same: nobody was checking the right things at the right phase. This guide is a plain-language field manual for staying ahead of your project instead of reacting to it. You’ll learn what normal progress looks like at each stage, how to spot deviation early, and how to fix the problems that do surface without a lawyer or a blown budget.
Quick Answer
Most home remodeling problems fall into four buckets: cost overruns, undiscovered conditions, communication breakdowns, and quality defects that show up weeks after the crew leaves. You fix them by running a short weekly walkthrough at each phase, documenting everything in writing, and knowing the difference between a legitimate scope change and a contractor error being billed as an extra. In Las Vegas, add three local wildcards to that list: caliche rock, aluminum wiring in pre-1980 homes, and summer heat that punishes sloppy exterior work.
Styles & brands we work with
- Kitchen remodeling
- Bathroom remodeling
- Home additions & ADU
- Roofing
- Windows & doors
- Driveway & pavers
- Fence
Table of Contents
- How to Run a Weekly Site Walkthrough
- Troubleshooting Cost Overruns
- Handling Undiscovered Conditions Mid-Project
- Resetting a Project After a Communication Breakdown
- Las Vegas-Specific Problems That Surprise New Residents
- Catching Quality Defects Before They Compound
- Permit and Inspection Problems
- Common Mistakes to Avoid
How to Run a Weekly Site Walkthrough
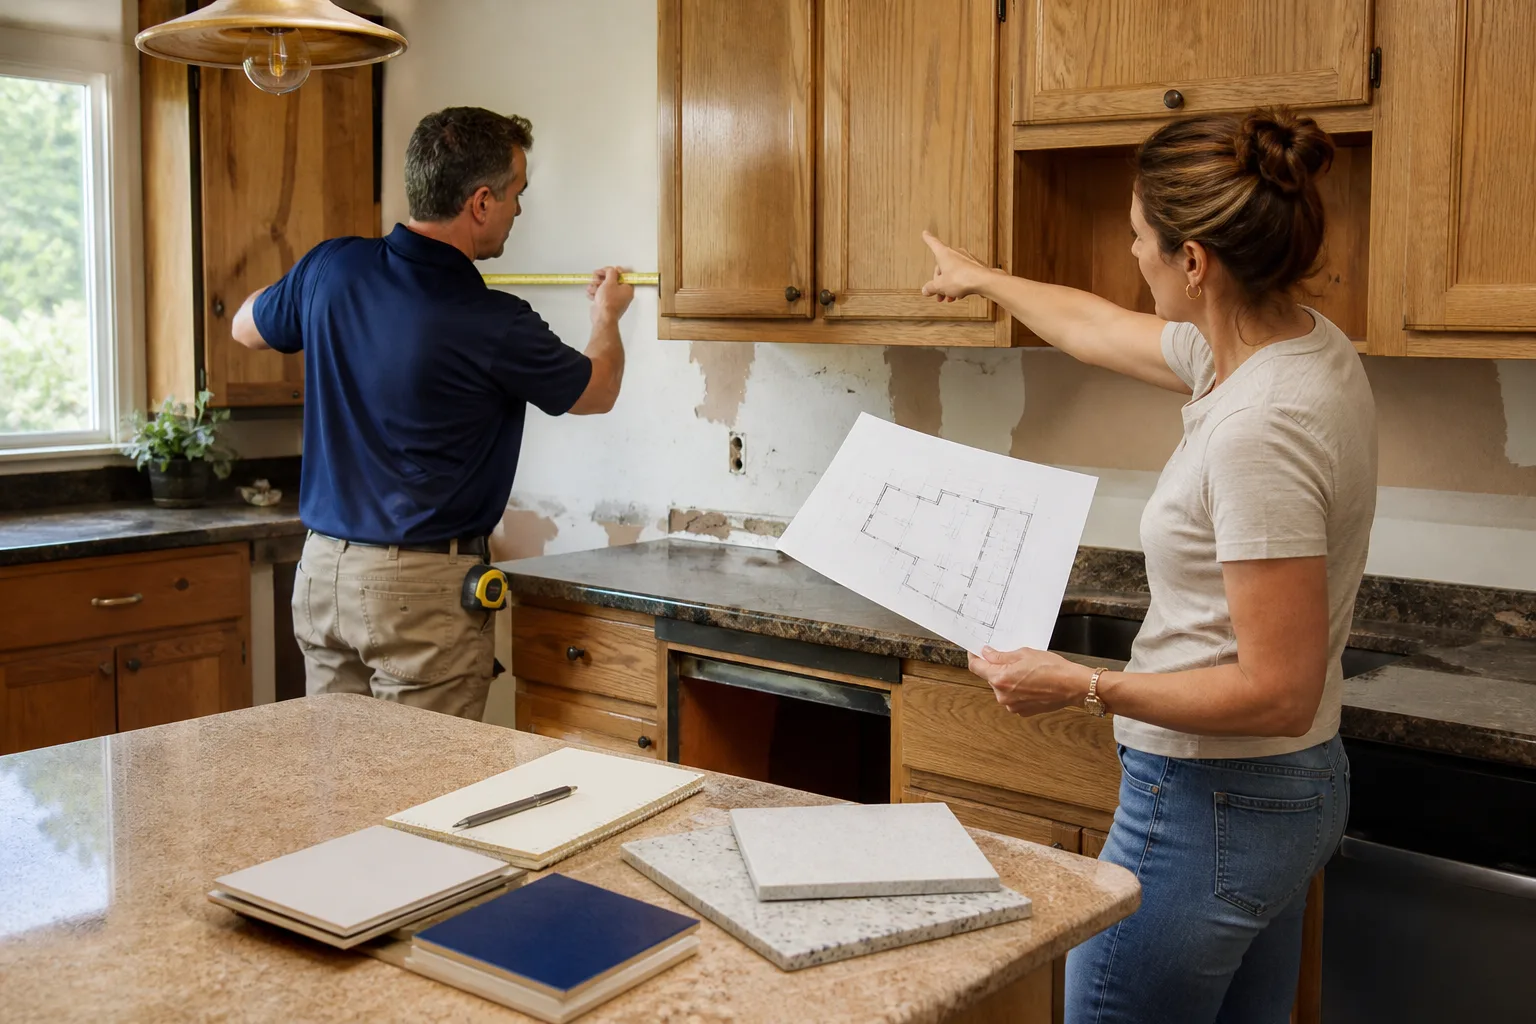
A thirty-minute walkthrough once a week, done at the right phase, catches more problems than a dozen phone calls. The trick is knowing what to look for while you’re standing in the room. Here are the five checkpoints we recommend, in the order a typical project hits them.
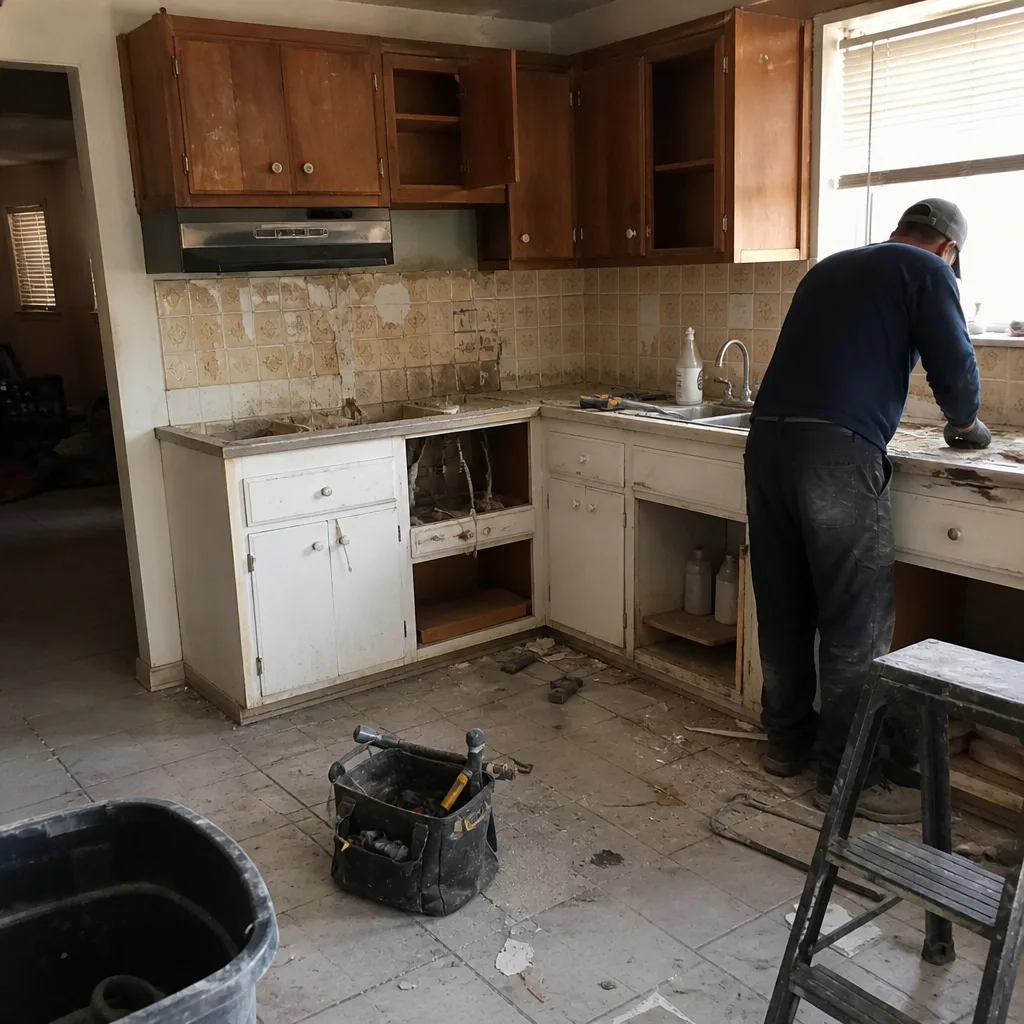
- Demo and framing phase: Check that the framing matches the plan dimensions, not just “close enough.” A wall that’s two inches off will show up as a cabinet gap or a tile sliver six weeks later. Also confirm the dumpster and material staging aren’t blocking your HVAC returns or garage access.
- Rough-in phase (plumbing and electrical): Before drywall goes up, walk the walls with a tape measure. Are the outlet boxes where you discussed? Are the shower valve and drain centered on the tile layout you approved? Once drywall is hung, every change is a demolition.
- Insulation and drywall phase: Look for gaps around windows and doors, and check that the drywall seams are taped tight. In Las Vegas, sloppy insulation around west-facing walls is a top cause of a hot room that never cools, even with a good AC unit.
- Finish phase (tile, cabinets, trim): Check tile grout lines for consistency and cabinet doors for level gaps. Run your hand along the countertop edge; any wobble is a shim problem that will worsen. Confirm the Schluter strip (the metal trim that seals the edge where tile meets flooring) is installed cleanly.
- Punch list phase: Walk every room with a notebook and photograph every item, no matter how small. A scratch on a door, a crooked outlet cover, a cabinet hinge that catches – write it down and take a picture. Vague punch lists are how small defects become “we already closed that out.”
Each checkpoint tells you something specific: framing tells you whether the whole project geometry is right; rough-in tells you whether the invisible work is correct; drywall tells you whether the envelope will perform; finishes tell you whether the craftspeople are working to a standard; punch list tells you whether the closeout will be clean.
Troubleshooting Cost Overruns
Not every dollar over the original number is a problem. The question is whether the extra is a legitimate scope change or a contractor error wearing a change-order costume. The two look similar on an invoice and are entirely different in principle.
A legitimate scope change has a paper trail: you approved it before the work was done, the cost was quoted in writing, and there’s a reason it couldn’t have been known at the start (you changed your mind, or a hidden condition was discovered). A contractor error is one where the work had to be redone, the material was ordered wrong, the crew missed the plan dimension, or the contractor underestimated their own labor – and the extra cost is landing on you.
How to tell them apart
- Timing: Legitimate changes are quoted before the work starts. Surprise invoices that appear only at the end of the job are errors being backfilled.
- Cause: Ask in writing: “What changed between the original scope and this line item?” A vague answer is your signal.
- Attribution: If the cost is for redoing something, ask who did it the first time and why it failed. If the answer is “the crew,” it’s not your scope change.
Example language for a written dispute
You rarely need a lawyer for this. A short, calm email works better. Something like: “Regarding invoice line 4, please send the written change order that authorized this work, along with the date we approved it. My records show no such approval. If the work was performed to correct an installation error, please advise how you’d like to handle it. I’m happy to discuss.” Keep it factual, keep it in writing, and give a clear response window – five business days is reasonable.
For a deeper look at how written pricing avoids these situations entirely, see our guide to working with a General Contractor in Las Vegas.
Handling Undiscovered Conditions Mid-Project
Every older home hides something. The most common mid-project discoveries are asbestos in old floor tile or duct wrap, mold behind a bathroom wall, and plumbing that looks fine until you open the cabinet. When something surfaces, the single most important thing is to stop, document, and agree on paper before anyone touches it.
Who’s responsible depends on what’s found. If the condition was reasonably knowable from a pre-project inspection, the contractor owns the scope of the discovery and the cost of accommodating it. If it was genuinely hidden behind drywall and no reasonable inspection could have found it, it’s typically a shared situation handled through a change order. Either way, you need a paper trail.
What documentation to collect
- Photos before any removal. Time-stamped, wide-angle, and close-up. Once the material is bagged, you’ve lost your evidence.
- A written description of the finding from the contractor, including location, approximate quantity, and whether the work area is safe to enter.
- A testing recommendation – for suspected asbestos or mold, a licensed testing firm should confirm before anyone proceeds. Some states require it; in Las Vegas, licensed abatement is the right call regardless.
- A written change order that lists the original scope, the new scope, the delta in cost, and the delta in schedule. Not a verbal “it’s going to be a few grand.”
A fair change order shows the line items: what’s being removed, what’s being replaced, what the labor and material cost is, and how many days are being added. Anything less is a number somebody picked out of the air. This is one of the reasons our written price is delivered before any work begins – the baseline is on paper from day one.
Resetting a Project After a Communication Breakdown
Communication failures are the quiet killer. The work may be fine, but nobody’s answering questions, texts go unanswered, and you start to dread opening the door. Before you escalate, try a structured reset. It works surprisingly well, because most crews genuinely lose track rather than deliberately stonewall.
The written notice process
- Send a single organized email, not a stream of texts. Subject line: “Project check-in – [address] – [date].” List what’s working, what’s unclear, and what you need answered. Cap it at five items.
- Ask for a response in a defined window. “Could you confirm these in writing by Friday?” A specific ask gets a specific answer.
- Request a ten-minute call or site meeting. In person or on the phone, ten minutes clears more than a week of emails.
- If you get no response in the window, escalate in writing to the contractor’s office – not to the crew lead. State that you’ve raised the concern, request a response by a specific date, and note that you’re pausing non-essential work until you hear back. That last line is the one that gets attention.
- Keep a running log. Dates, times, who said what. If you ever need outside help, the log is the whole case.
Most of these situations resolve at step three. It’s worth trying. For a broader look at how we structure written communication on every project, see the Mason Remodeling Co Las Vegas home page.
Las Vegas-Specific Problems That Surprise New Residents
Las Vegas has a few local wildcards that catch out-of-state homeowners and new arrivals every year. Knowing them before your project starts saves you from being surprised mid-job.
Caliche rock during exterior foundation work
Caliche is a natural cement-like layer of calcium carbonate that forms in desert soil, sometimes a foot below the surface, sometimes six feet down. It’s harder than most concrete. When a crew hits caliche while digging for a foundation, a patio slab, or a hardscape base, the digging equipment has to change, the timeline stretches, and costs move. If you’re doing exterior hardscaping or an addition, ask before the contract is signed: “Have you dug a test hole on this lot, and what did you find?” For hardscape materials that hold up in desert heat, crews often use products from Belgard and Techo-Bloc alongside Boral for stone accents – the product matters, but the site prep matters more.
Aluminum wiring in pre-1980 homes
A lot of Las Vegas homes built in the 1960s and 1970s were wired with aluminum branch circuits, not copper. Aluminum wiring was cheap and abundant at the time and is banned for branch circuits in new construction now because it expands and contracts under heat, loosens at connections, and creates a genuine fire risk. If you’re renovating a pre-1980 home and the electrician opens a wall and finds aluminum, do not let a “we’ll just pigtail it” conversation happen on the fly. You need a licensed electrician to assess and either install approved connectors at every junction (the Copalum method or an approved alternative) or rewire the affected circuits. This is one of the few places in a remodel where good news is worth paying for; verifying the wiring before drywall goes back up is a fraction of the cost of a fire.
Summer heat, monsoon, and stucco
Exterior work in Las Vegas has a seasonal reality that other markets don’t: a stucco patch applied in July cures too fast and cracks; an exterior paint job applied above 100°F can fail to bond; a monsoon storm can dump an inch of rain in an hour on an open roof. If your project touches the exterior, ask your contractor what the hot-weather and monsoon plan is. Good crews start early, keep the site water-misted on stucco day, and have a tarping plan ready.
Pittsburgh Paints and Sherwin-Williams both publish temperature limits for their exterior coatings; ask your contractor to show you the spec sheet, not to eyeball it.
Catching Quality Defects Before They Compound
A quality defect found in week two is often a ten-minute fix. The same defect found in month six can be a full teardown. The five most common defects we see on Las Vegas remodels, and where they hide:
- Tile lippage (one tile edge sitting higher than the next). Check with a straightedge during the install, not after grout. Once it’s grouted, the fix requires removing tile.
- Cabinet misalignment. Doors should sit flush; drawers should close with a light push. If they need a shove, the boxes weren’t shimmed right.
- Water pooling at shower corners. Slope should direct water to the drain, no exceptions. Test with a slow pour before the tile is grouted.
- Caulk gaps in bathrooms. A caulk line that’s already cracking in week three means the substrate wasn’t dry or the wrong caulk was used. Bathrooms need a mold-resistant, kitchen-and-bath rated caulk, not standard painters’ caulk.
- Paint on trim versus wall. Trim paint should be one coat fuller than wall paint. If they look identical in a raking light, the trim was shorted.
Every defect you log with a photo and a date is leverage. Every defect you mention verbally is a story. For a closer look at how we sequence a bathroom project, see Bathroom Remodeling in Las Vegas.
Permit and Inspection Problems
Skipped permits are the slowest-burning remodeling problem there is. They don’t cause trouble today; they cause trouble the day you try to sell, refinance, or file an insurance claim. In Las Vegas, unpermitted work can also trigger a retroactive permit process that costs far more than the original permit would have.
What to check on your own project, every month:
- Ask to see the permit card, and confirm the address matches yours.
- Ask for the inspection schedule in writing at the start of the project. Structural, rough-in, insulation, and final inspections are the usual gates for a remodel.
- If the crew is doing work that requires an inspection, don’t let the next phase start until that inspection is signed off. Hanging drywall over uninspected rough-in is the single most expensive shortcut in the industry to unwind.
If your contractor pushes back on permitting, that’s your signal to pause and ask why. Pulling permits and passing inspections is the baseline expectation on any project touching structure, electrical, plumbing, or mechanical.
Common Mistakes to Avoid
- Approving changes verbally. A verbal “yes, go ahead” costs more than any line item on the invoice because it can’t be defended later. Get it in writing, every time.
- Skipping the framing walkthrough. In Las Vegas, where an HVAC chase or a window placement can massively affect summer comfort, a two-inch framing error is expensive. Walk the framing before drywall, no exceptions.
- Assuming caliche won’t be a problem. If your lot hasn’t had a test dig for exterior work, assume caliche and ask for a plan. Finding it mid-dig is where surprise costs land.
- Ignoring aluminum wiring discussions. In pre-1980 Las Vegas homes, this one can literally be a life-safety issue. Get it verified in writing before drywall closes.
- Treating the punch list as a formality. A written, photographed punch list is the difference between a clean closeout and a six-week back-and-forth. Take it seriously.
- Letting the same crew do exterior stucco work in the July heat with no tarp plan. A monsoon storm can undo a week of work in an hour. Ask about the weather plan before exterior work begins.
- Skipping permit verification. Unpermitted work is a problem for the next owner as much as this one. Verify the permit card at the start of every phase.
See the difference
 Before
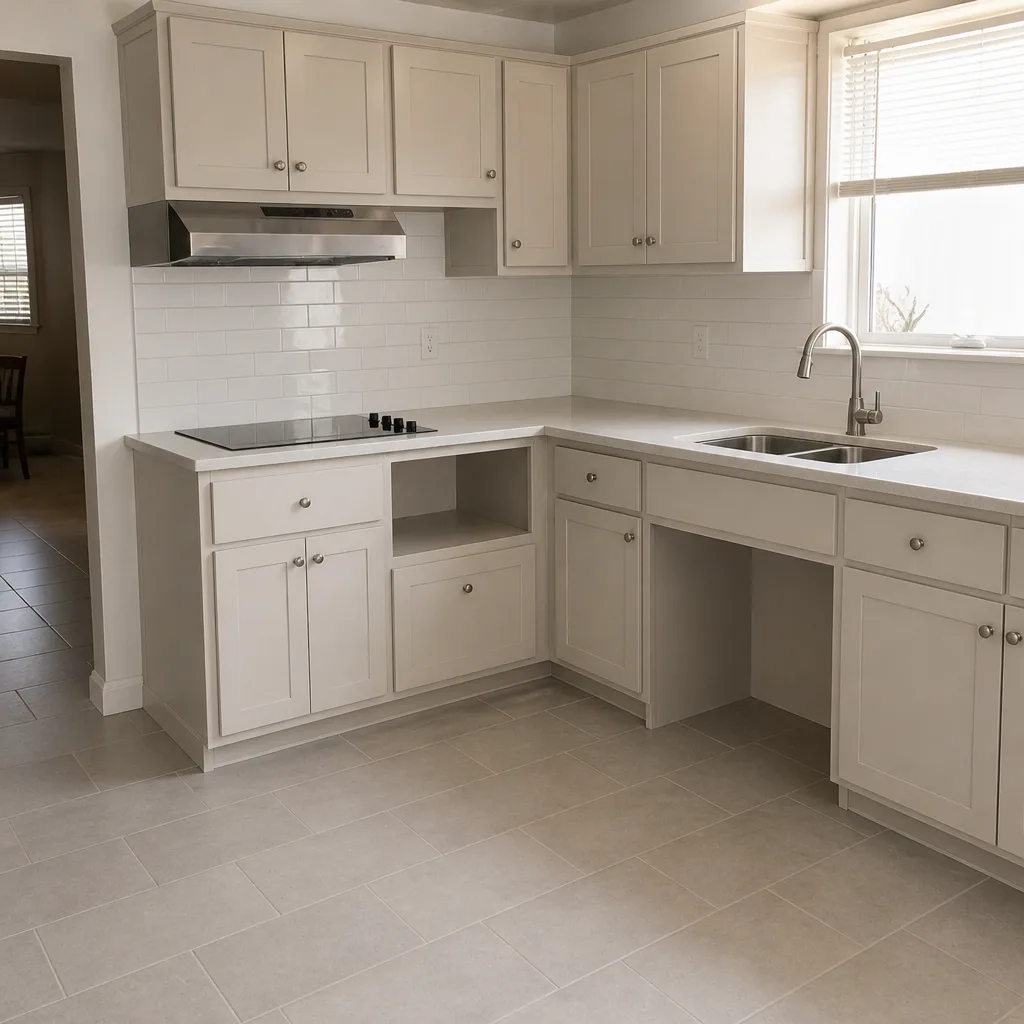 After
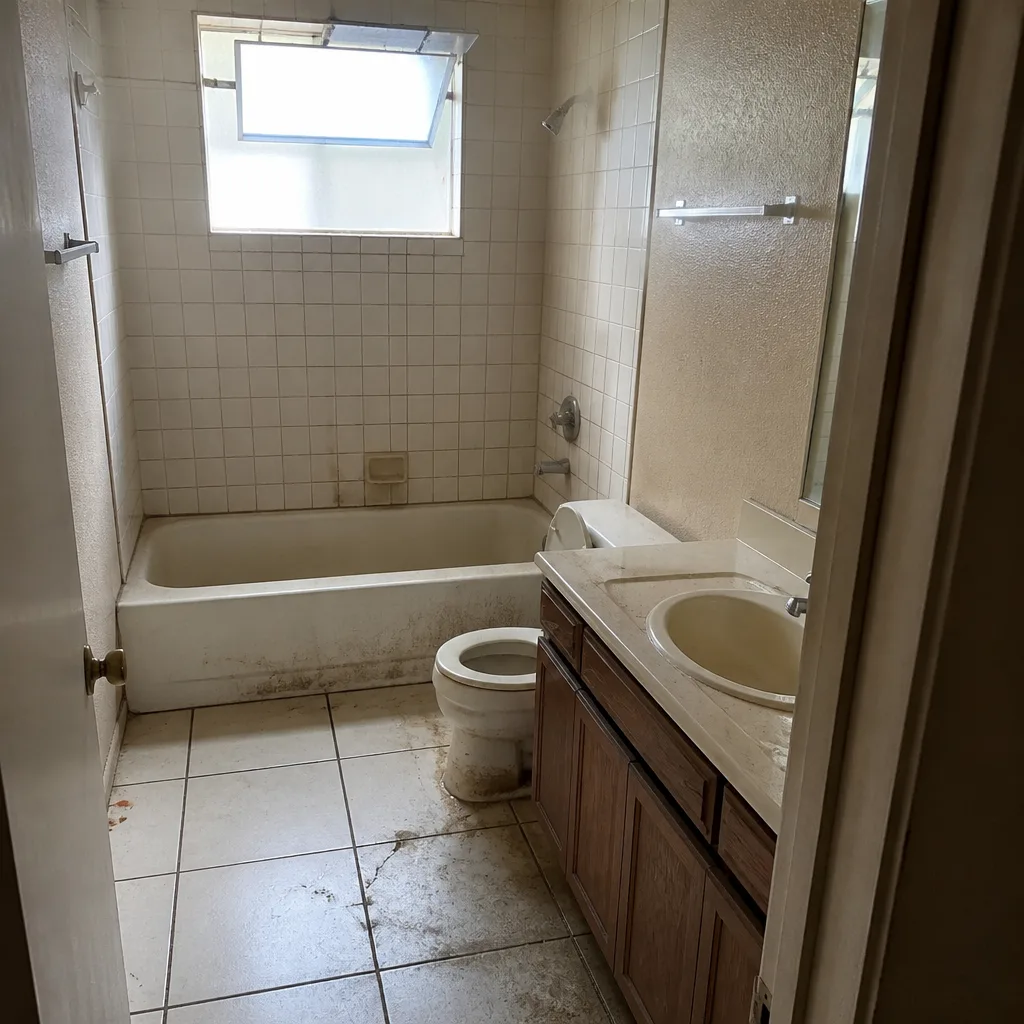 Before
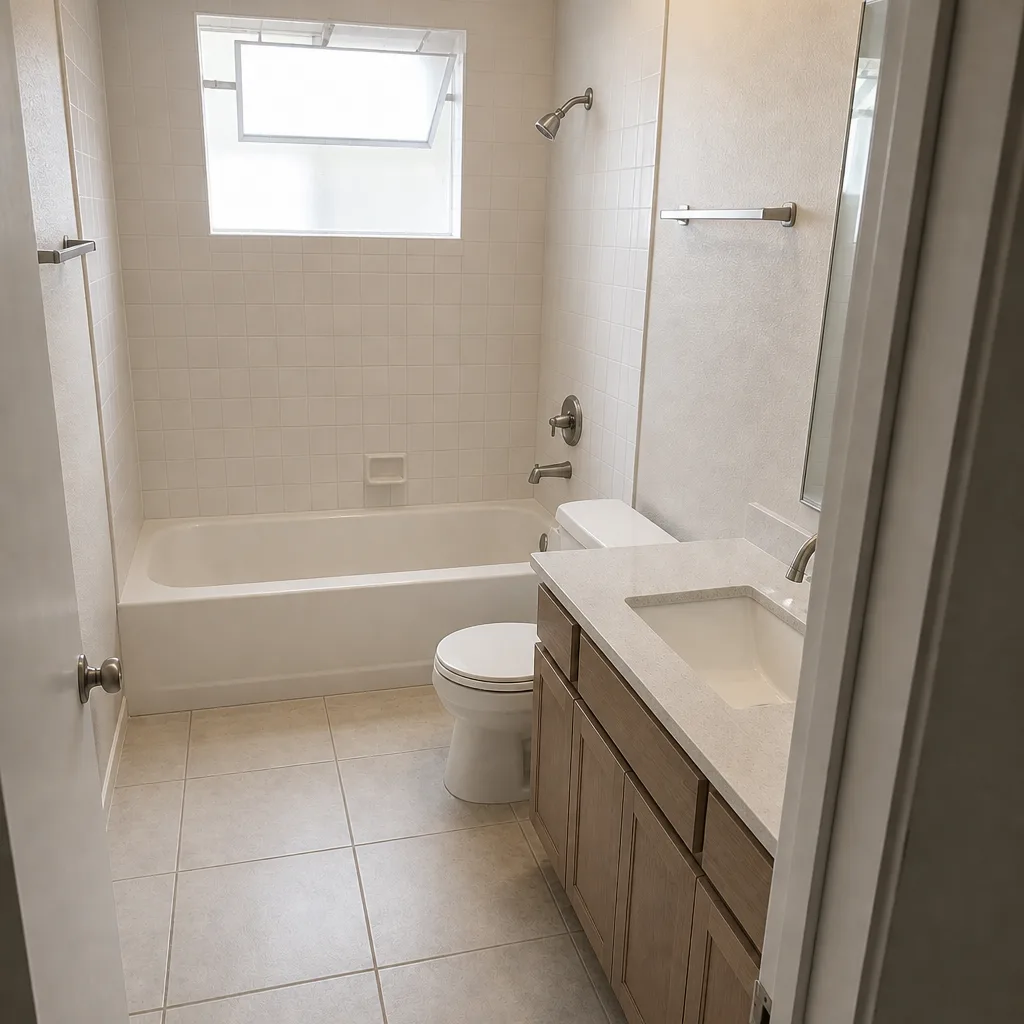 After
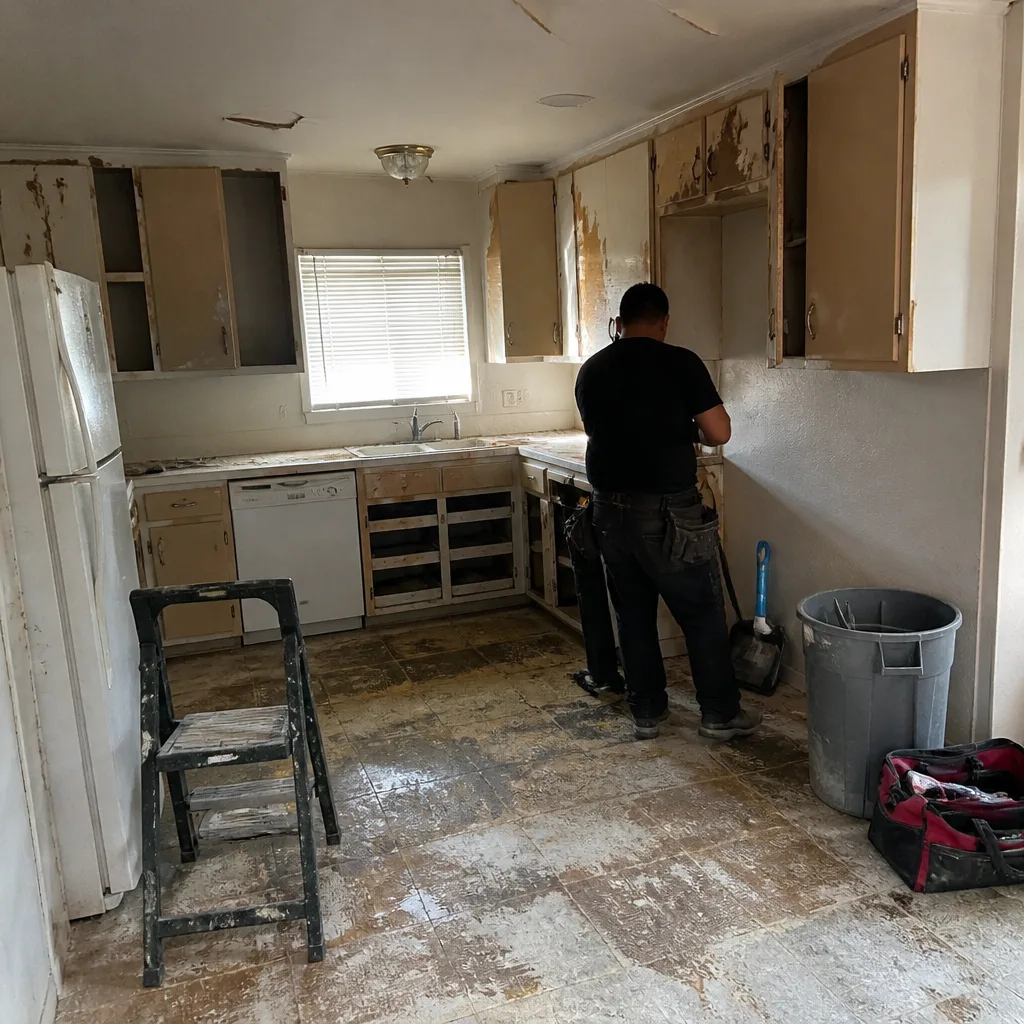 Before
 After
When to Call a Professional
Some problems are best course-corrected by the homeowner. Others are worth calling in a pro for, or at least getting a second opinion on before you sign anything. The line is usually: if the issue touches structure, electrical, gas, plumbing rough-in, or anything involving a permit or inspection, get a professional involved. If a wall is supposed to be load-bearing and someone’s cutting into it, if the electrical panel is being changed, or if the discovery in the wall is asbestos or mold, stop and call.
Mason Remodeling Co Las Vegas offers free estimates in Las Vegas. Our technicians have up to 22 years of experience, every crew member is background-checked and identity-verified, and you’ll receive the technician’s name and photo before the visit along with a photo ID badge at the door. Call (844) 797-1112 to schedule your free estimate and talk through what’s going on.
Frequently Asked Questions
It depends entirely on the problem. A tile lippage fix on a shower wall might land in the $400-$900 range; a re-drywall after finding aluminum wiring during a rough-in can run into the thousands because the electrical fix and the drywall and paint have to be redone. The best way to avoid surprise costs is to demand a written price before any work begins and to verify permits and site conditions (caliche, wiring) up front. Call (844) 797-1112 for an exact quote – estimates are free.
Not on a legitimate project, unless a genuine scope change or undiscovered condition is documented in writing and approved by you first. A written price delivered before any work starts, with a written change-order process for anything that needs to change, is the standard. If your contractor won’t put that in writing, that’s your signal to ask why. Call (844) 797-1112 for an estimate that’s written before the truck arrives.
Yes – on any project touching structure, electrical, plumbing, or mechanical, permits are pulled and inspections are scheduled. You should ask to see the permit card at the start of the project and confirm the inspection schedule in writing. Call (844) 797-1112 with the address of your home and we’ll walk through the permit scope for your specific project.
A bathroom remodel typically runs 3-6 weeks; a kitchen 6-10 weeks; a whole-home remodel 3-6 months. Las Vegas-specific factors that extend the timeline are caliche during exterior work, aluminum wiring remediation in pre-1980 homes, and monsoon season affecting exterior schedules. Ask for the timeline in writing at the same time you get the price – they should match. Call (844) 797-1112 to schedule a free estimate with a written timeline.
A change order is a written, pre-approved change in scope that adds or subtracts cost and time. A cost overrun is when the final bill exceeds the original price without a documented, approved reason. Legitimate change orders are quoted before the work is done and written on paper. Overruns show up at the end and lack documentation. Call (844) 797-1112 to see a written price structure and understand exactly what a change-order process looks like before you sign.
At each phase: framing matches the plan dimensions (before drywall), rough-in outlet and fixture placement matches the layout, insulation and drywall seams are tight, finish tile and cabinet lines are clean, and the punch list is photographed and itemized. A thirty-minute walkthrough once a week at the right phase prevents the majority of expensive surprises. Call (844) 797-1112 if you’d like a second opinion on what to check at your project’s current phase – estimates are free.
The Bottom Line

Most remodeling disputes don’t start from bad craftsmanship. They start because nobody was watching the right things at the right phase, and small deviations compounded into expensive fights. Run a short walkthrough once a week, know the five checkpoints, keep every change in writing, verify your permits, and understand the Las Vegas-specific wildcards – caliche, aluminum wiring in pre-1980 homes, and heat-sensitive exterior work. If you do those things, you’ll catch almost every problem while it’s still a ten-minute fix. Mason Remodeling Co Las Vegas offers free estimates in Las Vegas, a written price before any work begins, a 365-Day Done Right Promise, and a free return visit if a repair or installation fails. Call (844) 797-1112 to schedule your free estimate. See our Kitchen Remodeling in Las Vegas page for a closer look at how we sequence a kitchen project.
Written by the team at Mason Remodeling Co Las Vegas.